Deploy Django project on Pythonanywhere
The easiest way to make live your Django project on Pythonanywhere


croolic
8 min read
Apr 21, 2021
All you need to deploy Django project on PA is to make a few steps:
- Upload your code to PythonAnywhere
- Set up a virtualenv and install Django and any other requirements
- Set up your web app using the manual config option
- Add any other setup (static files, environment variables etc)
This guide assumes that you have got:
- Free Pythonanywhere account
- Git installed, Github account and the code pushed on Github account. How to do that you find here.
Uploading your code to PythonAnywhere
- Assuming your code is already on a code sharing site like GitHub or Bitbucket, you can just clone it from a Bash Console:
$ git clone https://github.com/yoursername/yourproject.gitIn my case:
$ git clone https://github.com/croolicjah/todowoo-project-drf.gitCreate a virtualenv and install Django and any other requirements
- Create a virtual environment. First, check out the python version you use:
$ python3 --versionDepending on output (mine is Python 3.7.0) run command. todowoo-virtualenv is just the name of venv. You can change it if you want to:
$ mkvirtualenv --python=/usr/bin/python3.7 todowoo-virtualenv3. Enter into the project directory:
(todowoo-virtualenv) 10:55 ~ $ cd todowoo-project-drfBe sure you are working in venv. You can recognize it by the name of your venv surrounded by parenthesis at the beginning of the command line. If, for some reason, venv is not working, activate it:
source /home/croolic/.virtualenvs/todowoo-virtualenv/bin/activate4. I assume you have got the requirements.txt inside your project. Run command:
(todowoo-virtualenv) 11:01 ~/todowoo-project-drf (master)$ pip install -r requirements.txt5. If you don't have got the requirements.txt you need to install Django and all the dependencies in that way:
(todowoo-virtualenv) 11:01 ~/todowoo-project-drf (master)$ pip install DjangoSetting up your Web app and WSGI file
At this point, you need to be armed with 3 informations:
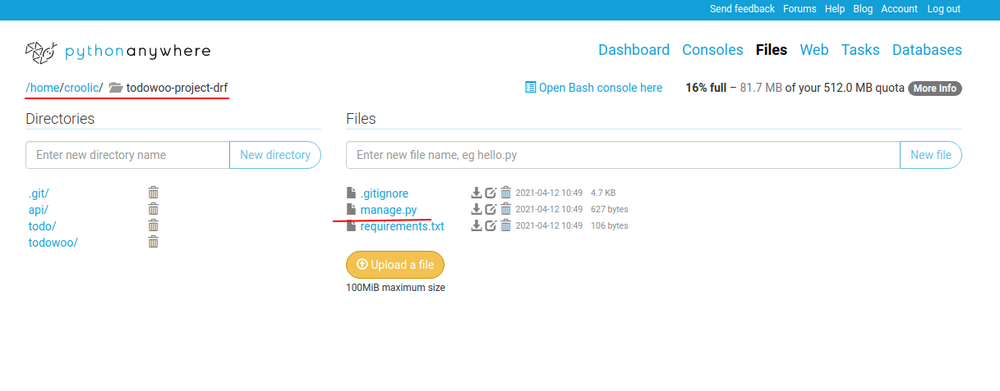
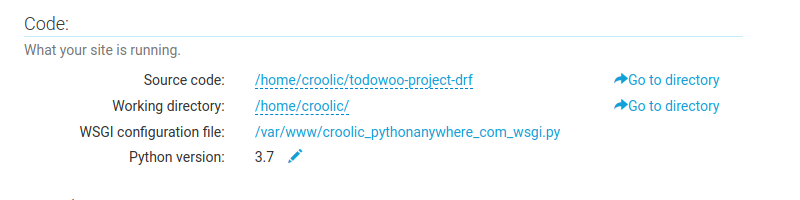
- The path to your Django project's top folder -- the folder that contains "manage.py", e.g. /home/yourusername/yoursite. In my case, it is: /home/croolic/todowoo-project-drf. You can find this path by going to the Files tab.
- The name of your project (that's the name of the folder that contains your settings.py), e.g. mysite . In my case it is: /home/croolic/todowoo-project-drf/todowoo:
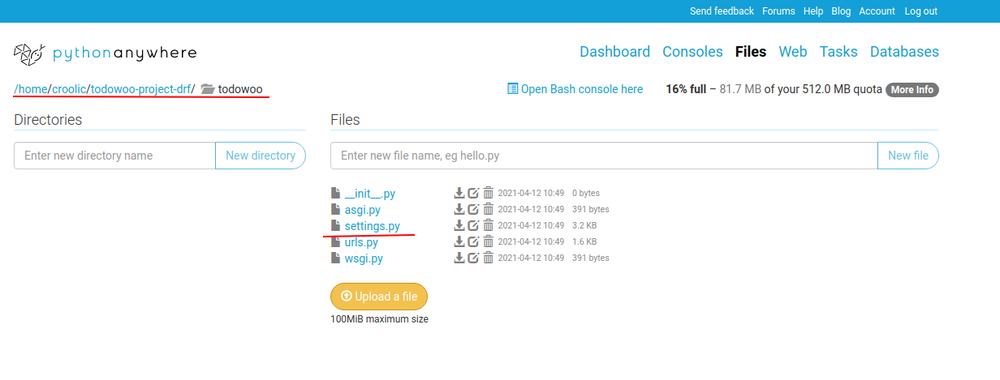
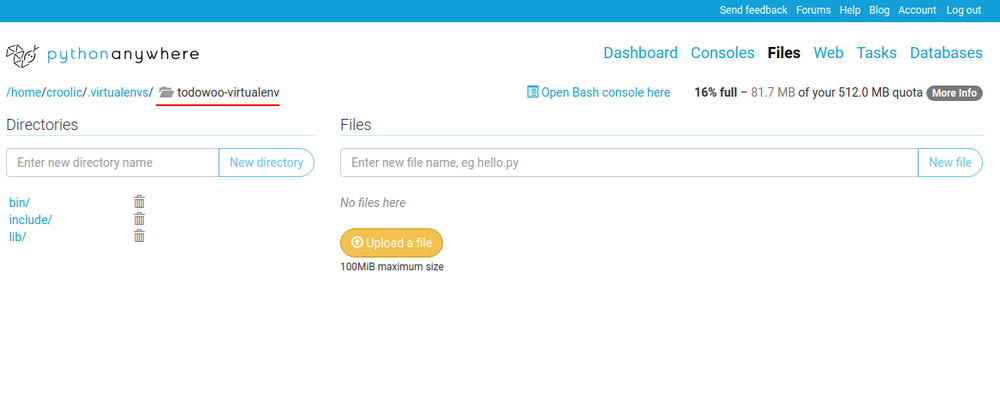
- The path to virtualenv, e.g. /home/yourname/.virtualenvs/yoursite-virtualenv. In my case it is: /home/croolic/.virtualenvs/todowoo-virtualenv:
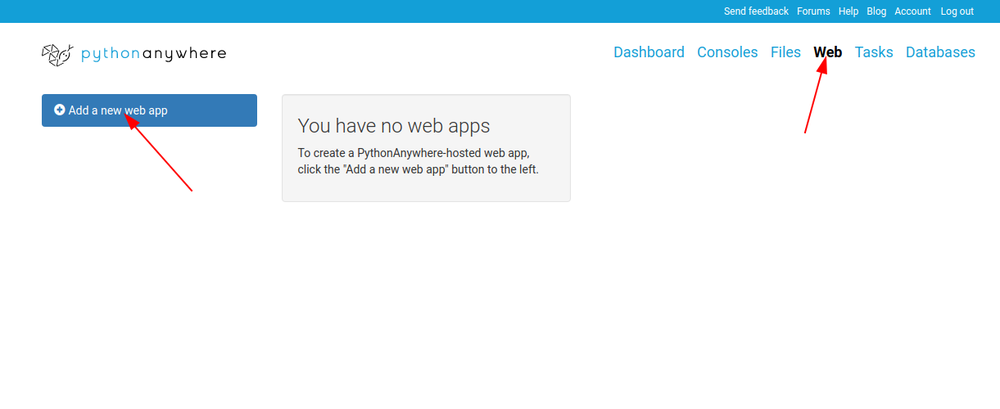
6. Create a new web app with "Manual Config" option and the right version of Python (the same one you used to create your virtualenv).
Click 'Add new web app' :
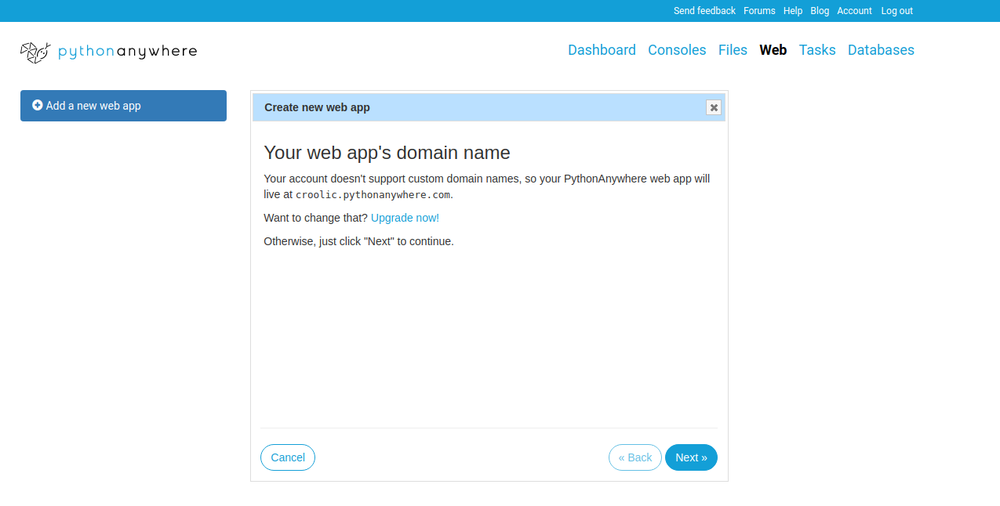
Click Next button on the first popup "Your web app's domain name":
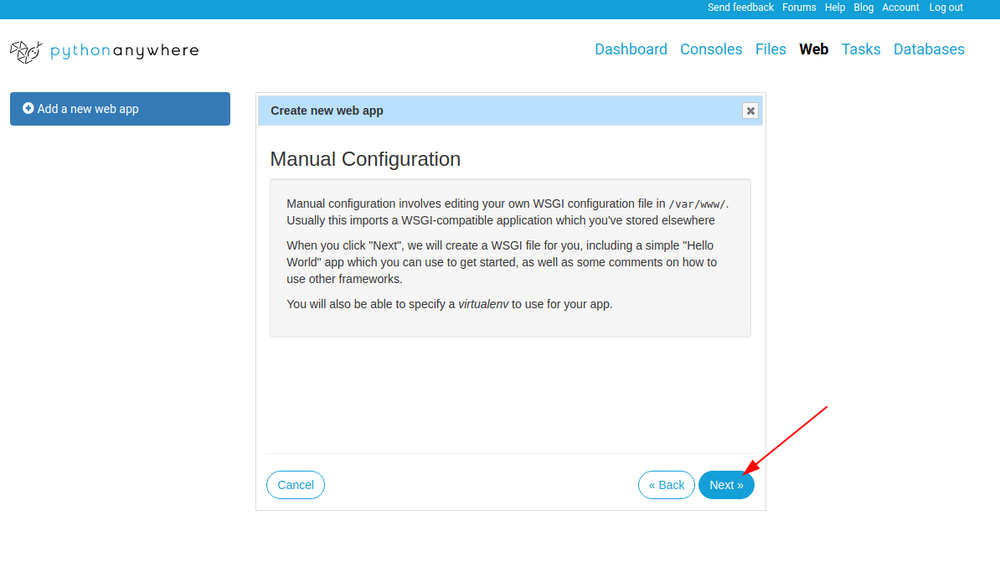
On next window, be sure you choose the 'Manual configuration' option:

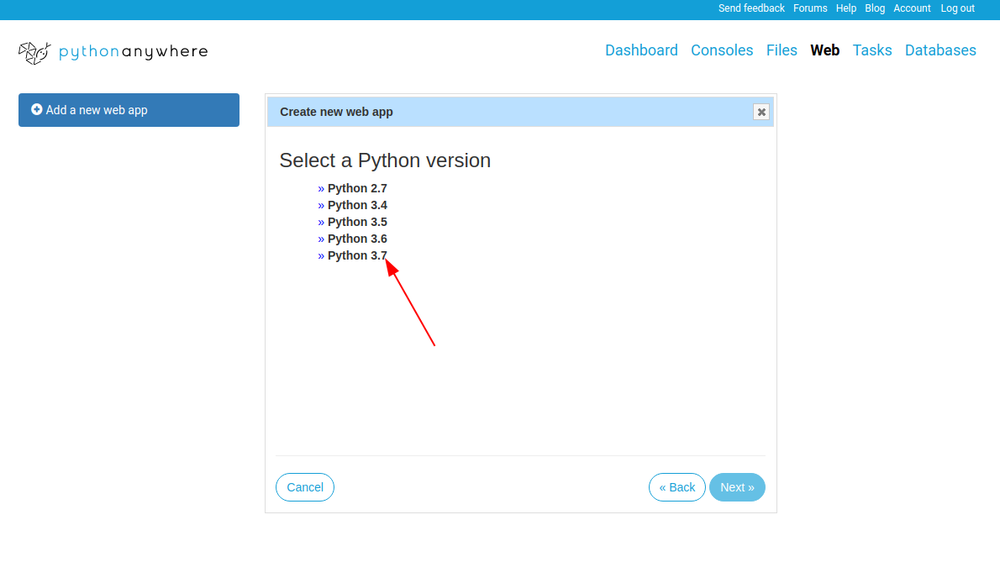
Then choose the right Python version:
On the last screen just click Next:
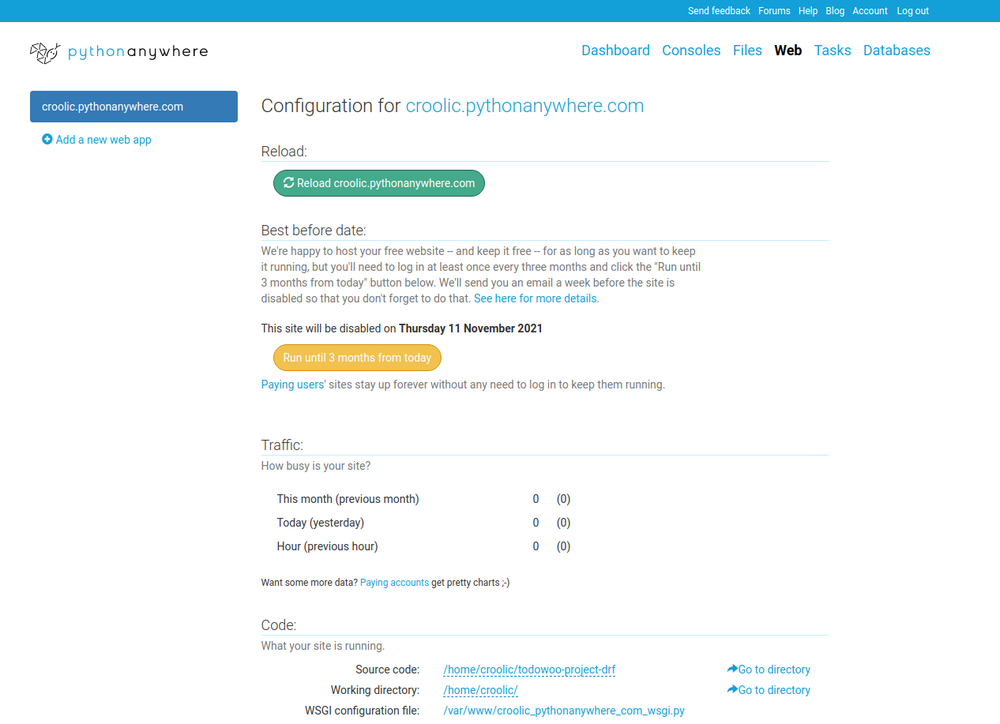
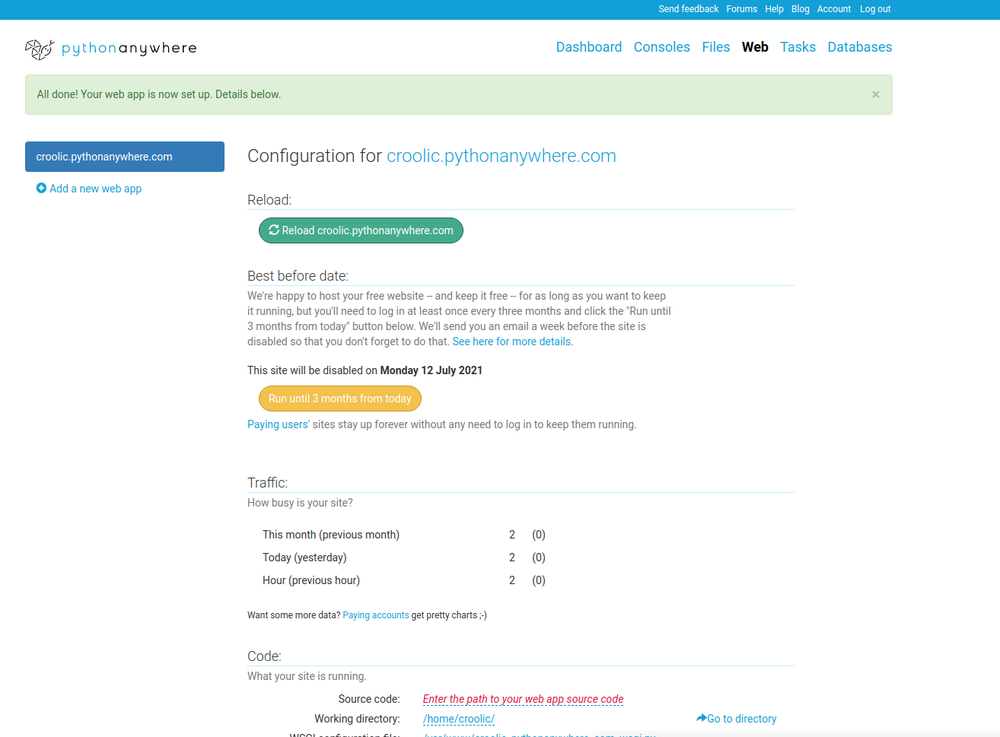
And you should get a configuration site:
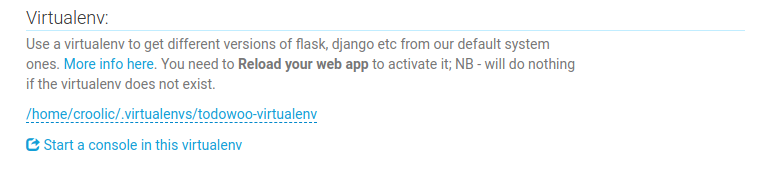
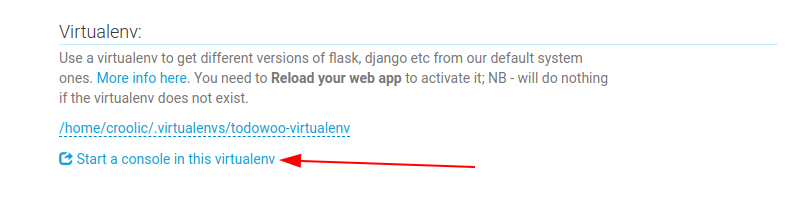
7. Now ( on the configuration page - Web tab) find virtualenv option and enter your virtualenv name (whole path). In my case, it is: /home/croolic/.virtualenvs/todowoo-virtualenv and click OK:
8. Optional: enter path to your code:
9. Edit your WSGI file.
One thing that's important here: your Django project (if you're using a recent version of Django) will have a file inside it called wsgi.py. This is not the one you need to change to set things up on PythonAnywhere -- the system here ignores that file. Instead, the WSGI file to change is the one that has a link inside the "Code" section of the Web tab -- it will have a name something like /var/www/yourusername_pythonanywhere_com_wsgi.py or /var/www/www_yourdomain_com_wsgi.py.
Click on the link in the "WSGI configuration file" option in Code section and it will take you to an editor where you can change it. Delete everything except the Django section and then uncomment that section. Your WSGI file should look like this:
# +++++++++++ DJANGO +++++++++++
import os
import sys
path = '/home/croolic/todowoo-project-drf'
if path not in sys.path:
    sys.path.insert(0, path)
os.environ['DJANGO_SETTINGS_MODULE'] = 'todowoo.settings'
from django.core.wsgi import get_wsgi_application
application = get_wsgi_application()
- Be sure to substitute the correct path to your project, the folder that contains manage.py, which you noted above.
- Don't forget to substitute in your own username too!
- Also, make sure you put the correct value for DJANGO_SETTINGS_MODULE.
- This guide assumes you're using a recent version of Django, so leave the old wsgi.WSGIHandler() code commented out, or better still, delete it.
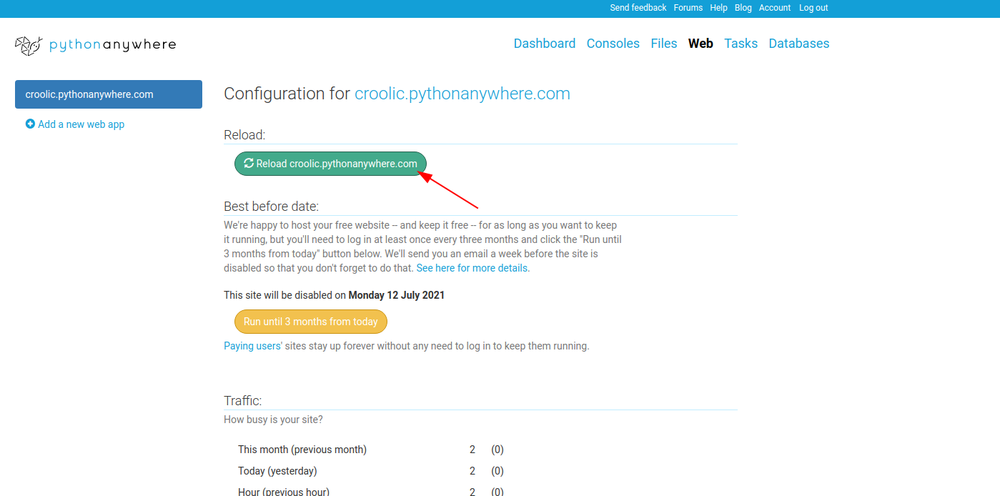
10. Save the file (on the top right you can find green button), then go and hit the Reload button for your domain. (You'll find one at the top right of the wsgi file editor, or you can go back to the main web tab):
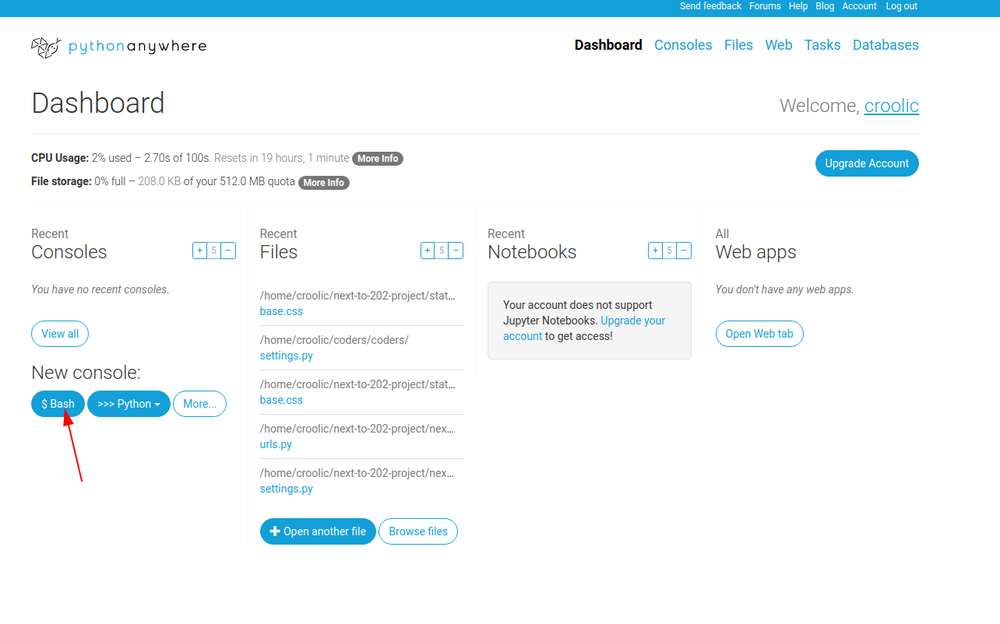
11. Migrate your database. To do this open console in your venv:
Go to your root project directory and run migrations:
(todowoo-virtualenv) 11:01 ~/todowoo-project-drf (master)$ cd todowoo-project-drf
(todowoo-virtualenv) 11:02 ~/todowoo-project-drf (master)$ python manage.py migrate
Last configurations and static, media settings
12. If you have hidden sensitive data in outer file (which is not on Github) it's high time to create it. Assuming you are using .env file run command:
(todowoo-virtualenv) 12:02 ~/todowoo-project-drf (master)$ nano /home/croolic/todowoo-project-drf/todowoo/.envInput your vars, save and close file. It could look like bellow:
DEBUG=False
SECRET_KEY=_some_very_weak_secret_key
ALLOWED_HOSTS=croolic.pythonanywhere.com
If you don't use outer file you will need to change ALLOWED_HOSTS in settings.py and add there your pythonanywhere domain. To edit settings.py you can use nano command run from Bash:
$ nano /home/croolic/todowoo-project-drf/todowoo/settings.pyor just find settings.py file using Files tab.
13. Set STATIC_ROOT in settings.py (to open file use above command or find file through Files tab). In the end of file add line:
STATIC_ROOT = os.path.join(BASE_DIR, "static")The important thing is, this needs to be the full, absolute path to your static files folder.
14. In Bash, in virtualenv, go to your project folder and run collect static command:
(todowoo-virtualenv) 14:24 ~/todowoo-project-drf (master)$ python manage.py collectstaticYou need to re-run this command whenever you want to publish new versions of your static files.
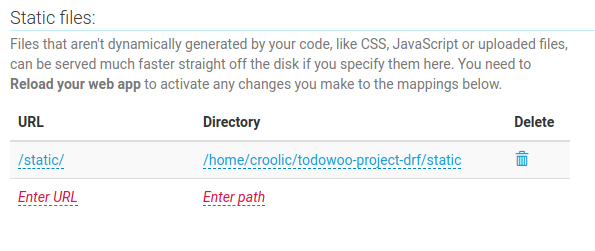
15. Finally, set up a static files mapping to get web servers to serve out your static files for you. To do this, go to the Web tab on the PythonAnywhere dashboard and find the Static files section.
- Enter the same URL as STATIC_URL in the url section (typically, /static/).
- Enter the path from STATIC_ROOT into the path section (the full path, including /home/username/etc, e.g. /home/croolic/todowoo-project-drf/static)
16. Media files. If you're using Django's default uploaded files handling, then you'll need to set up a similar to static files mapping from MEDIA_URL to MEDIA_ROOT.
17. Reload app in Web tab and test your static file mapping by going to retrieve a known static file.
Well done! Bravo, bravo, bravo! The whole world can see now your own django website.